
Coffee is an integral part of my morning routine both at home and off on adventures. Whether I’m road-tripping in my Sprinter van, going skiing for the day, car camping, or backpacking, that delicious coffee aroma is something I look forward to every day. The AeroPress coffee maker has been my go-to method for making that perfect cup of joe for nearly 10 years.
The new model – the AeroPress Go travel coffee press – is super compact, it takes less than a minute to make a cup of coffee, and the process results in a rich, smooth flavor that I haven’t been able to achieve with drip coffee or a french press. Cleanup is also a cinch, which is essential, especially when you’re in a van or car camping. There are no messy grinds to rinse out. You can literally plunge the grounds into the trash and wipe or rinse the AeroPress clean!
What is an AeroPress?
The AeroPress is a simple and inexpensive travel coffee press that can be used at home as well. It’s durable and lightweight so you don’t have to worry about it breaking, and it makes a deliciously strong cup of coffee. Plus, AeroPress coffee only takes a minute to brew which means I get that coffee in my hands sooner.
There are two types of AeroPress coffee makers, the original and the AeroPress Go. I’ve had my original AeroPress coffee maker for almost a decade and the seal was starting to get a little worn, so I recently upgraded to the AeroPress Go, the new, compact, travel-size version.

The AeroPress Go vs the Original AeroPress
The major difference between the original AeroPress and the new AeroPress Go is the size. When you have limited storage in your van or camping bins, this helps save space.
The AeroPress Go also comes with its own mug and lid and everything nests, keeping the whole setup nice and tidy.
There isn’t too much of a difference in weight between the AeroPress and AeroPress Go – the AeroPress go actually weighs 3.5 oz more than the original AeroPress but that’s because the weight includes the cup and the lid.
The original AeroPress has a slightly larger capacity than the AeroPress Go (10oz vs 8oz), and if you like a bigger cup of coffee, you may think that the original is better. However, to make a bigger cup of coffee with the AeroPress Go, you simply add more grounds and top it off with more water at the end. I’ll talk more about that down below.
The verdict for me? I now prefer the smaller AeroPress Go due to the space savings.

What you Need for Making AeroPress Coffee
- An AeroPress or AeroPress Go (see where to buy one at the bottom of this post)
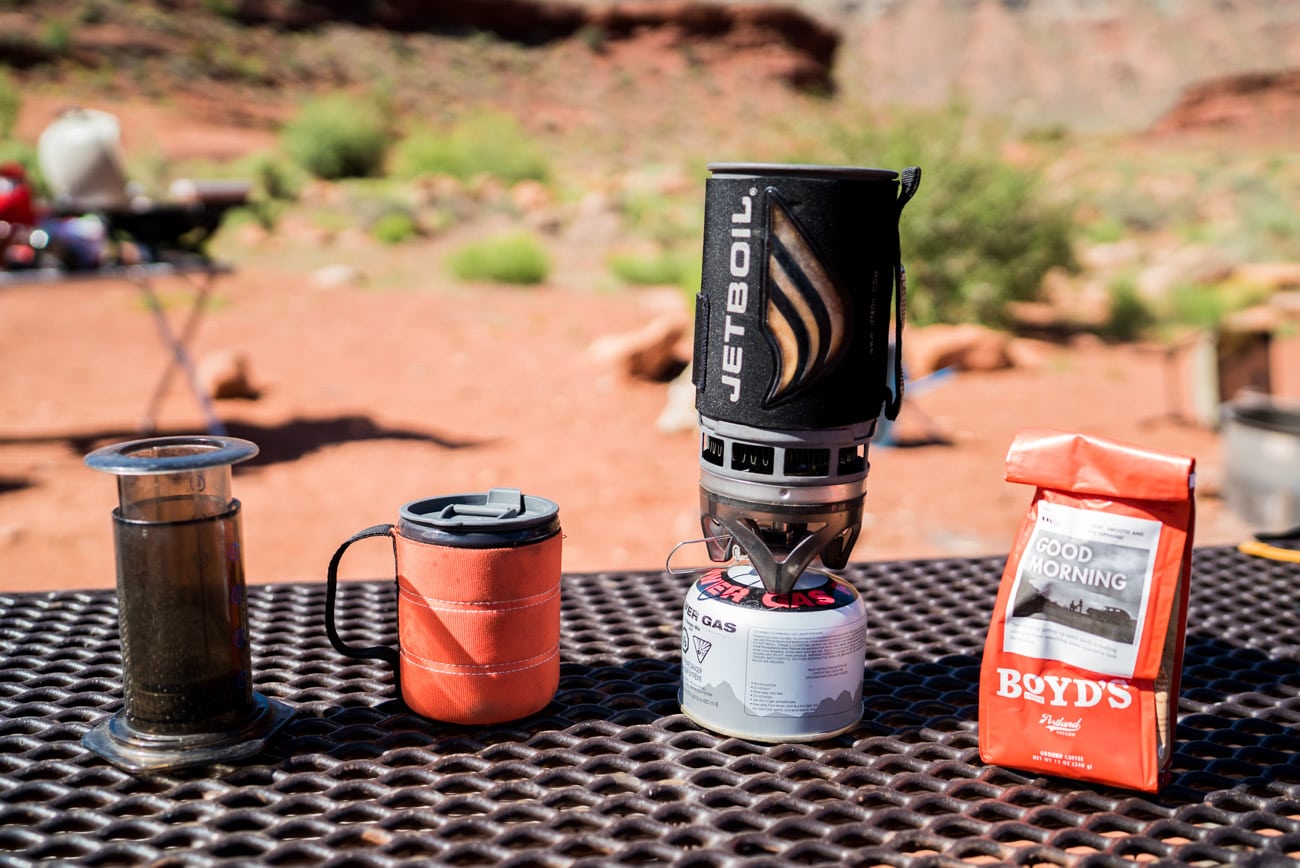
- A lightweight stove or another method for boiling water – I prefer the Jetboil when camping and backpacking as I’ve found it to be the most efficient, compact stove for boiling water. In my van, I use the induction stove.
- Your favorite ground coffee, ideally a fine drip grind
- A mug – I like this insulated Stanley vacuum mug or the Yeti Rambler for car camping
You actually don’t even need a separate mug for the AeroPress Go – it comes with a mug that it packs into. It’s a great solution for backpacking, but for car camping, I prefer an insulated mug with a lid you can sip out of to keep your coffee hot like one of the options listed above.
AeroPress Coffee Instructions
Making AeroPress coffee is a total cinch. Here are step-by-step AeroPress instructions for making the perfect cup of joe.
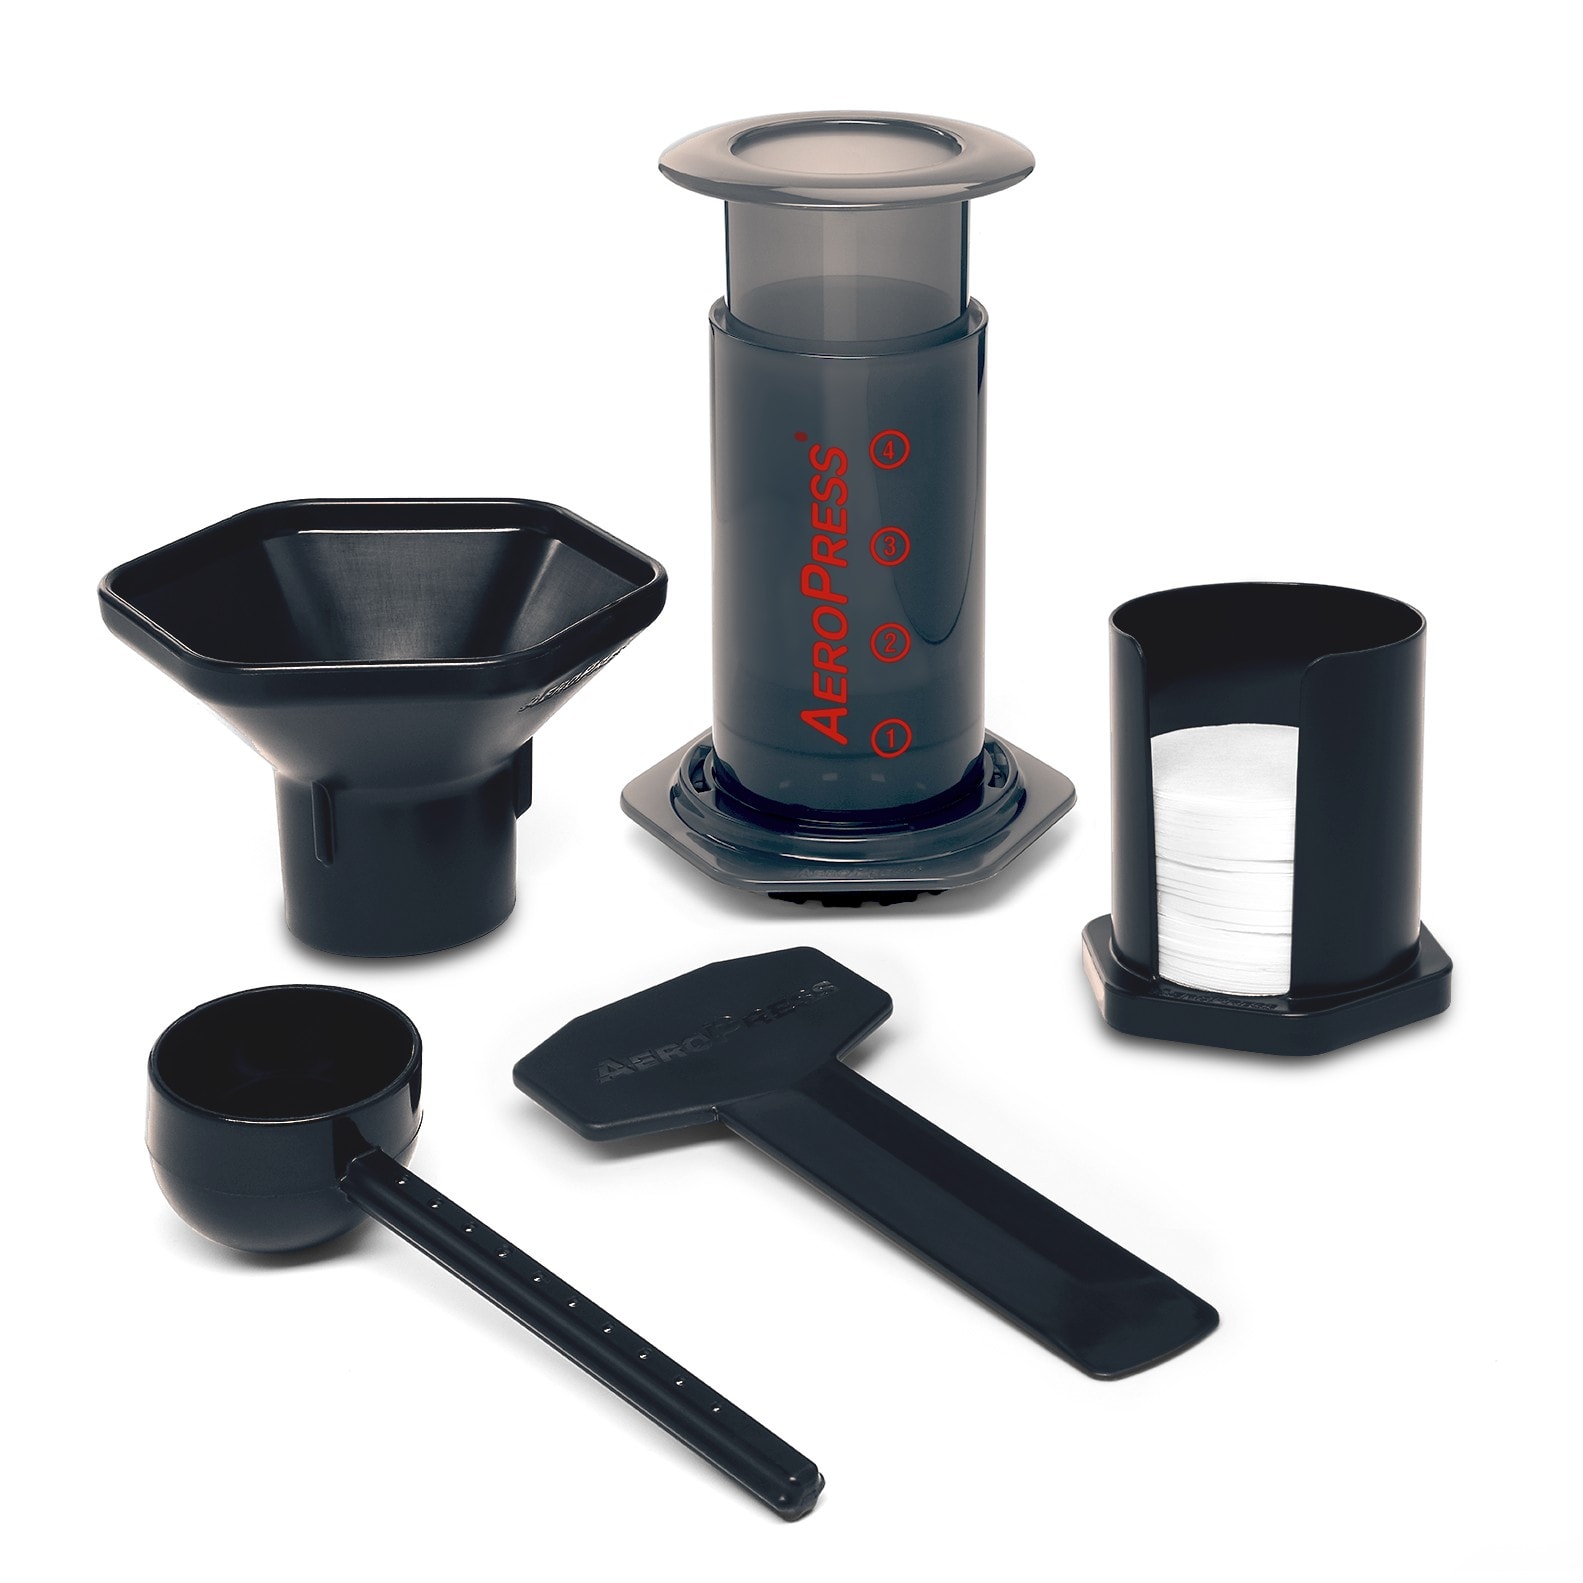
STEP 1: For both the AeroPress and the AeroPress Go, push the plunger out of the chamber where it’s stored.
STEP 2: Put a filter in the filter cap (the filters are included) and twist the filter cap onto the chamber
STEP 3: Stand the chamber on the mug (either your mug of choice or the one that comes with the AeroPress Go) and put one rounded scoop of fine drip grind coffee in the chamber (the scooper is included). Shake to level the coffee grounds. This makes an 8 oz cup. For a larger 16 oz serving, you use two scoops of coffee.

STEP 4: Heat water up until it’s almost boiling, and pour it into the chamber until Level 1 for one serving or Level 2 for a bigger cup.

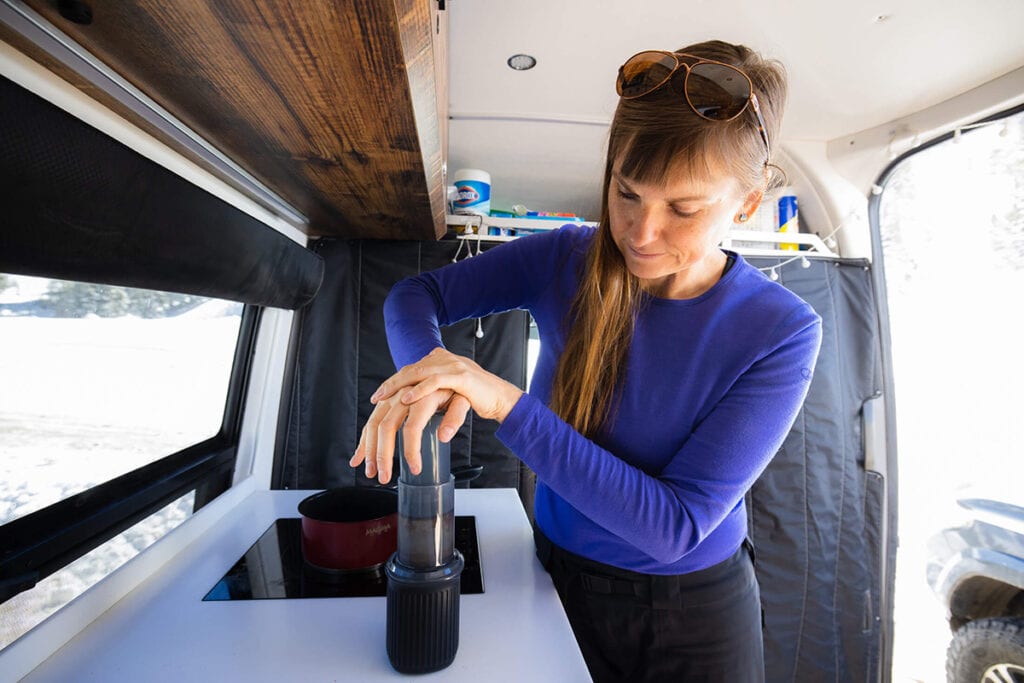
STEP 5: Stir for about 10 seconds, then insert the plunger until you feel resistance to create a vacuum seal. I personally like my coffee strong, so I leave the plunger in the chamber for a minute or two before I plunge. Then you press the plunger down gently until it reaches the grounds and can’t plunge any further.
STEP 6: Enjoy! Here are a few ways to enjoy your AeroPress coffee:
- For espresso style, enjoy as is.
- For Americano style, add hot water to make an 8 oz or 16 oz coffee.
- You can also add your favorite milk to make a latte (my favorite non-dairy plant-based milk for coffee is cashew or macadamia nut milk).
The AeroPress and AeroPress Go can also be used to make cold brew. Simply follow the instructions above but use room temperature water instead of hot water and stir for 1 minute before pressing.
STEP 7: Clean up is super easy – simply twist off the filter cap, push the plunger to eject the used coffee grounds into the trash, and give the seal a quick rinse.

AeroPress vs French Press
A French Press is another popular option for van life and car camping. I prefer the AeroPress because of both the flavor and the cleanup. With the AeroPress, it’s easier to Leave No Trace since the grounds can simply be plunged into the trash. With a french press, you have the wet grounds at the bottom of the french press that must be swirled around and rinsed out. Then what do you do with those wet grounds? It’s much easier to pack out the grounds in the case of the AeroPress.
In addition, the cleanup for the Aeropress requires less water. When you have limited water, not having to waste water cleaning your coffee maker is a huge plus.
The only downside of the AeroPress is that it’s more difficult to make a large batch of coffee. You can brew up to three concentrated shots of coffee “espresso style” at once with the AeroPress that you can then top off with hot water to make three 8oz cups of coffee. I actually have two AeroPress Go’s in my van so I can make a larger coffee for both Ryan and I at the same time. If you are the kind of person who likes more than a cup or two every morning or you are making coffee for a large group of people, then you might prefer a french press or a large percolator.
Where to Buy an AeroPress
At $39, it’s hard to beat the AeroPress. Considering it will last you for years whether you’re making coffee at home, on the road, or while camping and backpacking, it’s even harder to beat (as I mentioned, I had my original AeroPress for nearly 10 years before replacing it with an AeroPress Go).
You can buy an AeroPress or AeroPress Go directly from the AeroPress website (they have some handy quick tutorials as well).
They are also available at REI, Amazon, select Bed Bath & Beyond Stores, and some independent retail stores.


Van Life Essentials Packing List
Below are a few of my favorite pieces of van life gear and recommendations for the road:


Related Blog Posts:
- The Definitive Guide To Making Camp Coffee
- Camp Cooking Essentials for Van Life & Car Camping
- Car Camping Packing Checklist
Have you tried AeroPress Go coffee yet? What’s your favorite way to make coffee on the road? Share your comments and questions below!
The post AeroPress Go: The Best Way to Make Coffee on the Road appeared first on Bearfoot Theory.


